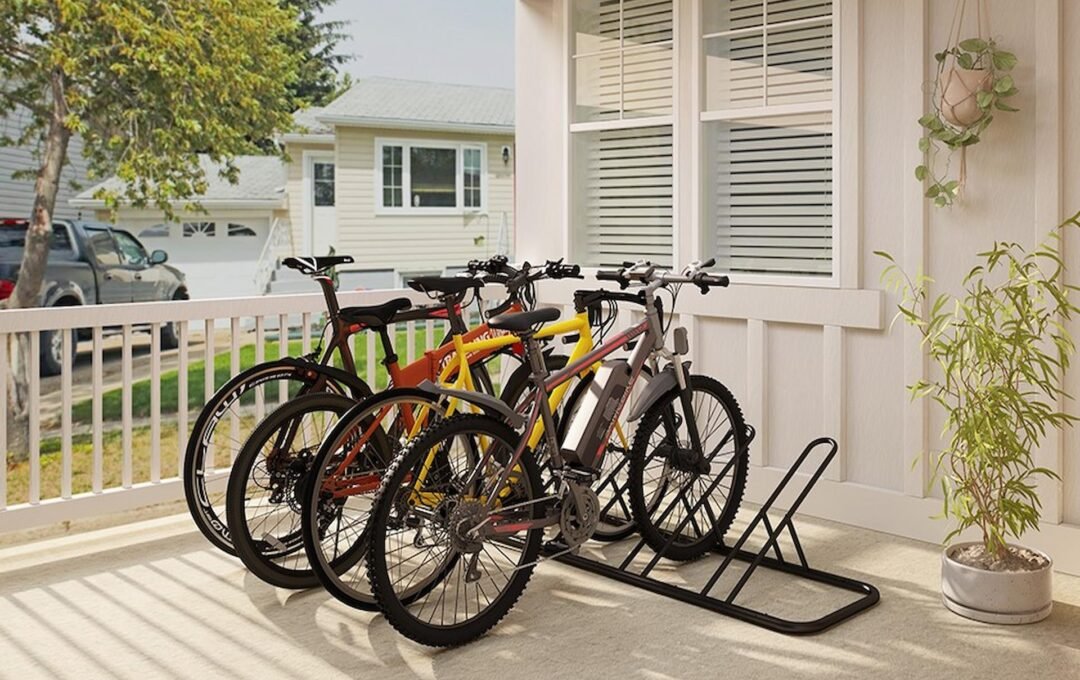
In an era where cycling is becoming an increasingly popular mode of transportation, having a reliable and well-installed bike rack is crucial. Whether you’re an avid cyclist or enjoy the occasional ride, this rack provides the perfect solution for storing and transporting your bicycle. This guide will walk you through installing a bike rack, from selecting the right type to ensuring a secure fit. You can set up your rack confidently with clear instructions and practical tips.
Choosing the Right Bike Rack
Before diving into the installation process, choosing a bike rack that suits your needs is essential. These racks come in various styles, each designed for different purposes. Here are some popular types:
- Roof-Mounted Bike Racks
Roof-mounted these racks are ideal for vehicles with a roof rack system. They are great for carrying bikes without occupying your car. However, they typically require you to lift your bike onto the roof, so they might not be the best choice if you have a heavy bike or limited strength.
- Hitch-Mounted Bike Racks
Hitch-mounted racks are attached to the hitch receiver on the back of your vehicle. They offer easy access to your bike and can carry multiple bikes at once. These racks are a great option if you frequently transport bikes and prefer a more accessible loading and unloading process.
- Trunk-Mounted Bike Racks
Trunk-mounted, these racks are designed to fit most cars, SUVs, and minivans. They are straightforward to install and remove, offering a versatile solution. However, they may not be as secure or stable as roof or hitch-mounted racks, especially if you frequently drive over rough terrain.
- Indoor Bike Racks
If you want to store your bike indoors, wall-mounted or floor-standing, these racks are excellent options. They keep your bike off the ground and out of the way, perfect for limited indoor spaces.
Choosing the right rack involves considering your vehicle type, storage needs, and how often you’ll use the rack. Once you’ve selected the appropriate rack, you can proceed to the installation process.
Preparing for Installation
Gather the Necessary Tools and Materials
Before installing this rack, ensure you have all the necessary tools and materials. Standard tools for this rack installation include:
- Drill and bits (if needed)
- Wrenches or socket set
- Screwdriver
- Measuring tape
- Level
- Bike rack installation kit (usually provided with the rack)
Read the Instructions
Every rack comes with installation instructions. It’s crucial to read these instructions thoroughly before starting the installation. The manufacturer’s guidelines provide specific details and steps for proper installation.
Check Vehicle Compatibility
Ensure that your vehicle is compatible with the rack you’ve chosen. For roof-mounted racks, verify that your car has a roof rack system. For hitch-mounted racks, check the hitch receiver’s capacity and size. Ensure the rack fits your vehicle’s trunk shape and dimensions for trunk-mounted racks.
Installing the Bike Rack
Roof-Mounted Bike Rack Installation
Position the Roof Rack: Place this rack onto your vehicle’s roof bars. Align the rack with the bars, ensuring it’s centred and level.
- Secure the Rack: Use the provided straps or clamps to secure this rack to the roof bars. Tighten the fasteners as instructed in the manual, ensuring the rack is firmly in place.
- Check Stability: Once installed, check the stability of this rack by gently shaking it. It should be securely attached with no movement.
Hitch-Mounted Bike Rack Installation
- Insert the Rack into the Hitch Receiver: Slide this rack into the hitch receiver on the back of your vehicle. Ensure it fits snugly.
- Secure the Rack: Insert the hitch pin or locking mechanism to secure this rack in place. Tighten any additional bolts or screws as required.
- Test the Fit: Verify that the rack is securely attached by testing it for movement. It should be stable and not wobble.
Trunk-Mounted Bike Rack Installation
- Position the Rack on the Trunk: Place the bike rack on the trunk of your vehicle, adjusting it to fit the trunk shape. Make sure it’s centred and aligned.
- Attach the Straps: Use the provided straps to secure this rack to the trunk. Adjust the straps for a tight fit to ensure the rack is stable and won’t shift during driving.
- Check for Clearance: Ensure this rack does not obstruct the rearview or license plate. Adjust the position if necessary.
Indoor Bike Rack Installation
- Choose the Location: Select a suitable spot for the indoor bike rack, such as a wall or floor space. Ensure there’s enough clearance for the bike.
- Mount the Rack: Use a drill to make holes and install the mounting brackets for wall-mounted racks. For floor-standing racks, assemble the rack according to the instructions and position it in place.
- Secure the Rack: Tighten all screws and bolts to ensure this rack is securely mounted. Check that it’s stable and can hold the weight of the bike.
Conclusion
Installing a bike rack may seem daunting, but with the proper preparation and guidance, it can be a straightforward process. By selecting this rack for your needs and following the installation steps carefully, you’ll ensure a secure and convenient solution for transporting and storing your bike. Regular maintenance and safety checks will keep this rack in top condition, allowing you to enjoy your cycling adventures with peace of mind.


